Sunday, November 29, 2009

Winter 2009

Every year when Cross Country ends, I find myself in a strange position. All of a sudden, six straight months of intense training and competition are over and I'm left with an abundance of free time. It usually takes a week or so to get out of the "GO GO GO!" mood that creeps in during a long season, but once that's taken care of I catch the bug like nothing else. I first started building computers around this time Sophomore year, and last year I took on a 250-hour science fair project (see 'The Liquid Nitrogen Experiment'). This year, I'm being even more ambitious. Here are a few likely projects for this winter:

I4 Go-Kart:
Normally I'm not a four cylinder kind of guy, but when a friend suggested that we build a go-kart, my first thought was how great a high-revving, mid-mounted four cylinder could be on a modified kart. It'll take loads of work, but the end result should be something to see. I want to join the Formula SAE team at whichever college I attend next year, so this project would give me some invaluable experience. It's also Mario approved.


Modified A/C Water Chiller:
I've been thinking about this one for a long time. The plan is to buy a window air conditioning unit and modify it to run as an auto-cascade. Auto-cascades take all the benefits of multi-stage cooling systems and leave their problems behind; with the one exception being complexity. Though this makes it the perfect long-term project, it also makes it somewhat unlikely. The cost of all of the tools and materials would run upwards of $700, and the end product would be too expensive to run continuously. I've been researching alternate means of reaching cryogenic temperatures via sound waves, magnets and lasers, but though these options may be more effective in the long term, they are all but impossible to create with my limited resources and know-how.

  
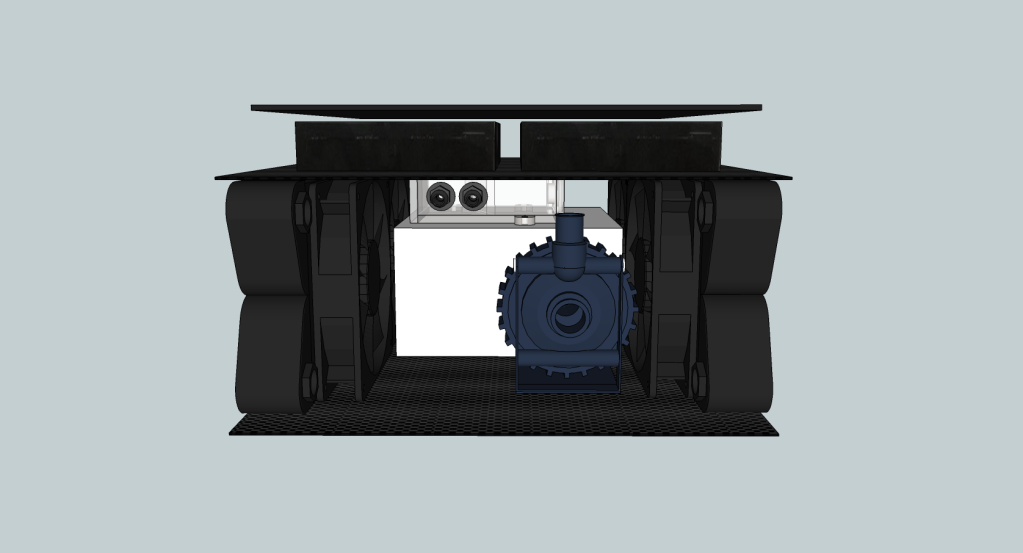
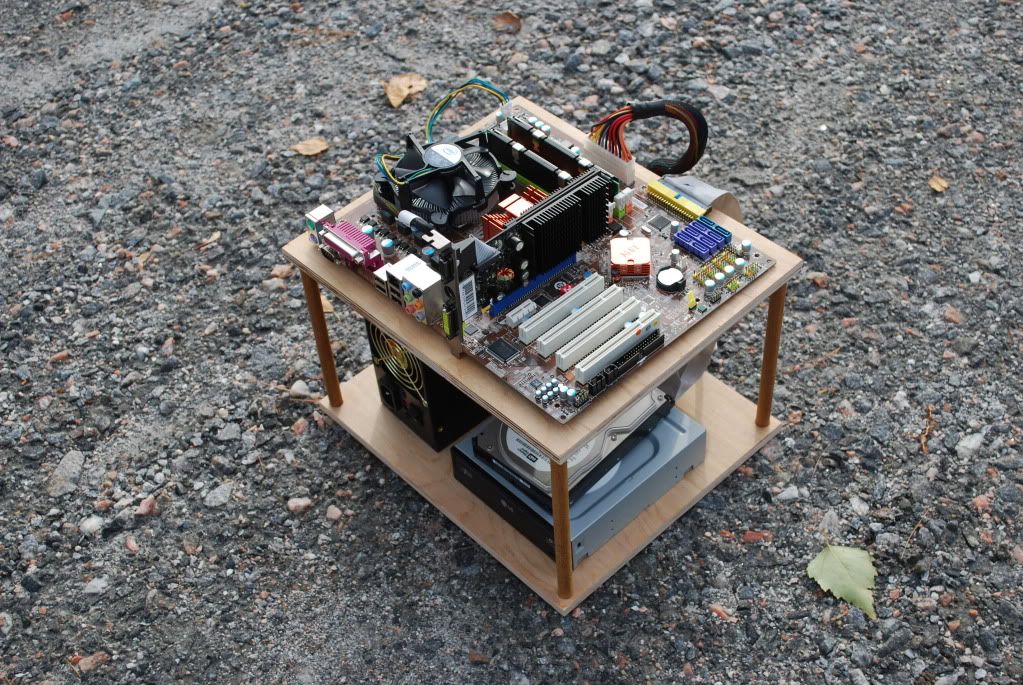
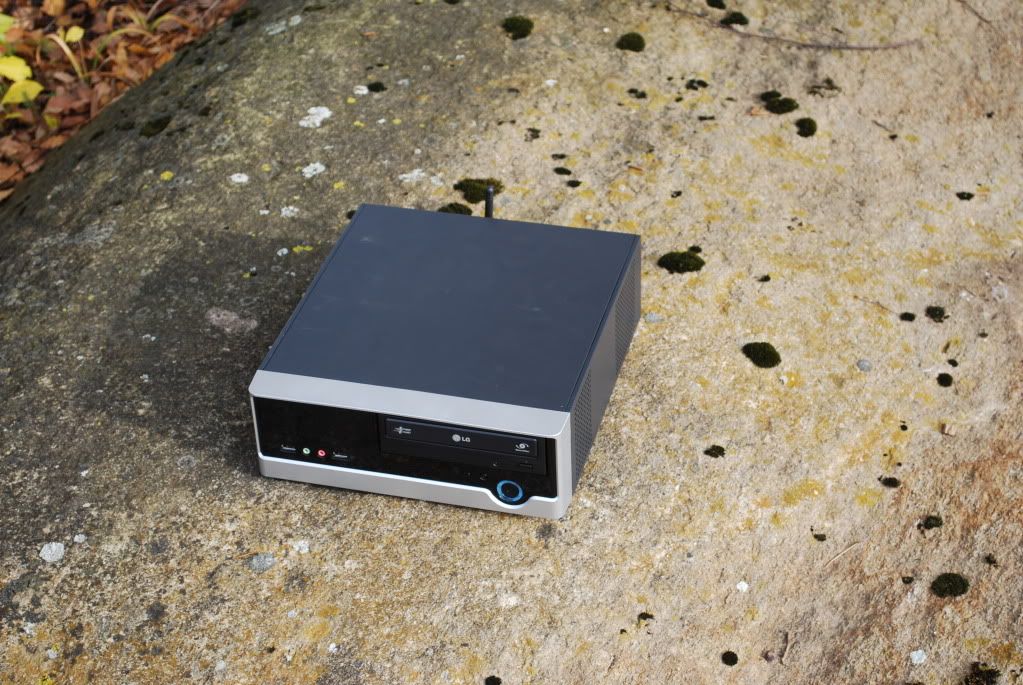
New Computer Builds:
Perhaps the most likely project for this winter is a new computer case. I'll be doing a full re-build for college this summer and I want a new case to go along with it. I've been working on a few different designs, the best of which are posted below. The 3-tiered case is 6.7" x 6.7" excluding the curves, and the larger case is 11" x 12". They will both be made out of carbon fiber. Here's the kicker: the smaller computer has the potential to be just as powerful as the larger one, minus the liquid cooling.


Wednesday, November 4, 2009

Project: Alpha Dog

Meet my first real graphics card. His name is Alpha Dog (given by the manufacturer, not me). He's a 'superclocked' version of XFX's 8800GT. He was designed to be a thoroughbred that overclocked like mad; some users reported gains of up to 200mhz over the stock 670mhz. Unfortunately, mine only scaled up to 715mhz without any extra voltage. I let it go for a while, luck of the draw and everything, but I eventually decided to take matters into my own hands.

Meet Alpha Dog's PCB. It's pretty nice as far as PCBs go. Most of it's unimportant to us right now, though. We're interested in the area in the red circle. Therein lies the chip that regulates the GPU core voltage. The idea is to solder a 1kΩ variable resistor onto the feedback pin of this chip and a ground. Decreasing the resistance increases the core voltage, allowing a greater overclock. (NOTE: I did not come up with this mod)

 Here's a closeup of the same area on another card, courtesy of Dinos22 of Xtremesystems.com.

The sixth pin from the left is the one we want. It's official name is VSENSE. The red line follows the trace from this pin. Since all of the solder joints on this trace are effectively the same point, I went for the last one because it seemed to be the easiest. Now, the mod calls for a 1kohm variable resistor, so I picked one up at Radioshack and gave it a go one boring day during the winter of Sophomore year. Young and inexperienced as I was, I rushed the job and ended up taking off one of the SMRs surrounding the solder point. Whoops.

I posted a few pictures on Xtremesystems' forums and the members there proposed an elaborate fix. I was to desolder the remaining 3 SMRs in the chain (red X's) and solder on two 16ohm linear resistors in their place. (Thanks to Largon and Jason4207)

I bought the two resistors and spent a good 3 or 4 hours attempting the fix, but it proved to be too much for me. I sold the card to an Xtremesystems member for parts and he ended up fixing it and using it in his own computer. Much respect to him for pulling it off. As for me, I'm just glad my Alpha Dog is still alive and kickin'.

Tuesday, November 3, 2009

Robotics and Beyond

As part of my intership with Robotics and Beyond Inc., I was tasked with the creation of a Computer Science curriculum to teach to interested students this past summer. The idea was to create a computer that would be easy enough to take apart and put back together that, after some quick instruction from me, the students could successfully assemble it by themselves. I knew from experience that a store-bought case wouldn't fit the bill, so I decided to build one myself. I decided on an open case design so the students could see how the individual components work while the computer is turned on (plus I just think it looks better).

 I wanted the students to have something to relate the hardware to. They knew that 'this' was a graphics card and 'that' was a CPU, but they didn't know what each did. I wanted to show them what programs stressed each component individually, and that you have to keep the intended use of the computer in mind when selecting its components. I offered to teach the basics of Solidworks (a CAD program) to illustrate this point. My supervisors liked the idea and asked me to build another computer for a student to use Solidworks on. The catch: the total cost of the parts could not exceed $350. The cost would certainly limit things, but I still wanted to make a statement to the students. I wanted to show them that a small, cheap computer designed with efficiency in mind could be just as powerful as a desktop. I built the mini-ITX PC below for $312 and tweaked it until it was as fast as the open machine above.

In Solidworks, I showed the students how to build complex 3D arrangements by combining singular parts in an assembly file. I decided the iconic Lego brick was the perfect tool for this, so I walked each student through the making of an individual brick and showed them the mechanism by which Solidworks locks two 'part' files together. I then let the students experiment, encouraging them to create models of the robots they had made in the other projects.